Skip to content
General
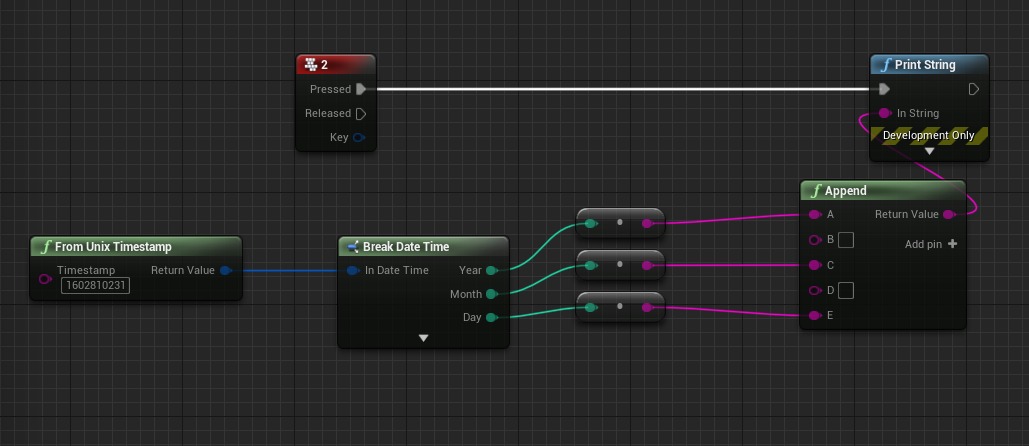
- Added FromUnixTimestamp function to convert a Unix/Epoch timestamp (int64) to a FDateTime blueprint struct
Apps
- Fixed GetLaunchCommandLine not being populated properly
General
- Fixed a pathing issue that was causing a crash on startup