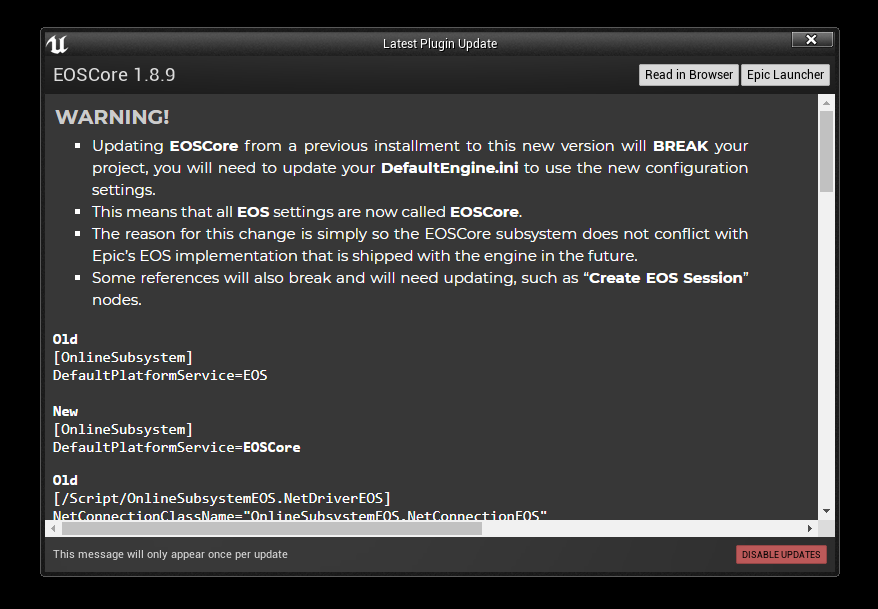
Updating EOSCore from a previous installment to this new version will BREAK your project, you will need to update your DefaultEngine.ini to use the new configuration settings.
This means that all EOS settings are now called EOSCore.
The reason for this change is simply so the EOSCore subsystem does not conflict with Epic’s EOS implementation that is shipped with the engine in the future.
Some references will also break and will need updating, such as “Create EOS Session” nodes.
Old
[OnlineSubsystem]
DefaultPlatformService=EOS

New
[OnlineSubsystem]
DefaultPlatformService=EOSCore
Old
[/Script/OnlineSubsystemEOS.NetDriverEOS]
NetConnectionClassName="OnlineSubsystemEOS.NetConnectionEOS"
bIsUsingP2PSockets=true

New
[/Script/OnlineSubsystemEOSCore.NetDriverEOSCore]
NetConnectionClassName="OnlineSubsystemEOSCore.NetConnectionEOSCore"
bIsUsingP2PSockets=true
Old
[/Script/Engine.GameEngine]
!NetDriverDefinitions=ClearArray
+NetDriverDefinitions=(DefName="GameNetDriver",DriverClassName="OnlineSubsystemEOS.NetDriverEOS",DriverClassNameFallback="OnlineSubsystemUtils.IpNetDriver")

New
[/Script/Engine.GameEngine]
!NetDriverDefinitions=ClearArray
+NetDriverDefinitions=(DefName="GameNetDriver",DriverClassName="OnlineSubsystemEOSCore.NetDriverEOSCore",DriverClassNameFallback="OnlineSubsystemUtils.IpNetDriver")
Old
[/Script/OnlineSubsystemEOS.EOSCoreSettings]
DefaultConfigurationName=DefaultConfig
TickBudgetInMilliseconds=0
+EOSConfigurations=...

New
[/Script/OnlineSubsystemEOSCore.EOSCoreSettings]
DefaultConfigurationName=DefaultConfig
TickBudgetInMilliseconds=0
+EOSConfigurations=...
WARNING!
General
Renamed all function parameters to match the Unreal coding standard
Old Style: void MyFunction(param1, param2, param3);
New Style: void MyFunction(Param1, Param2, Parm3);
Cleaned up a lot of unused code
Refactored a lot of logic
Updated the tooltip for all EOS functions to match the latest tooltip from the SDK
Added a custom DisplayName to all EOS functions to make the functions easier to read
New style
Old style
ECOM
Refactored most Ecom functions to fix an issue when submitting arrays on some systems/configurations
Converted OfferId struct to a regular FString
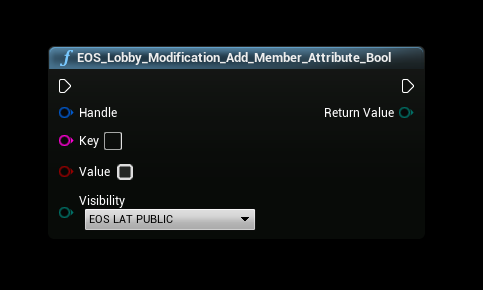
Lobby
LobbyId has been converted to a FString rather than a struct