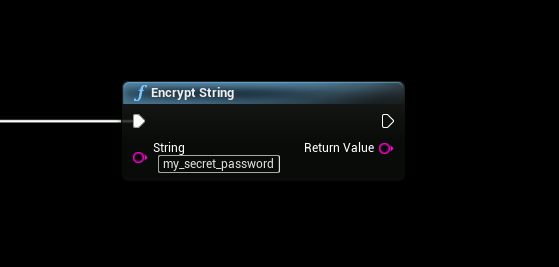
S3 1.0.5

General

  • Fixed a crash on server shutdown
    Thanks to noggs for the fix
  • Added client ssl certificate
  • Fixed android warnings

EOSCore:: 1.8.4.2

General

  • Updated EOS SDK to version 1.10.1

Leaderboards

  • Fixed an issue when fetching leaderboard records

EOS SDK 1.10.1

EOS Core

  • Bug Fix: Fixed rare crash in the SDK task management code. Prior to the change, there was a very small time slice when queuing completion delegates could crash the application.

P2P

  • Bug Fix: Fixed an issue where packets could be sent out-of-order even when configured to be ordered, when packets were sent on the same frame the underlying connection was established.

Social Overlay

  • Bug Fix: EOS_Platform_SetOverlayLocaleCode now informs the Social Overlay of this change and triggers a refresh of the achievements data.

User Info

  • Bug Fix: Fixed a bug where querying user info for display names that include Unicode characters would fail.

EOSCore:: Configuring your Client

How to configure your Client

Beware, this client example will grant the client ALL PRIVILEGES, this might not be ideal in a Live project but it will be fine for testing/development purposes.

Navigate to your Product Settings in the Developer Portal and click on the Clients Tab

Adding a Policy

Scroll down to the bottom of the page and click on “ADD NEW CLIENT POLICY

  1. Give your Policy a name
  2. Select Custom policy type
  3. Make sure “User required” is checked
  4. Check all the Features as shown below

Click on every Feature in the list (Achivements in this example) and make sure “All actions” are allowed

Make sure you do this for all Features

Save your Policy Settings

Creating the Client

In the Product Settings > Clients tab, click on “ADD NEW CLIENT

Give your client a Name and select the Policy we just created in the last step

After you’ve saved your client, confirm that it was added successfully as shown below:

Configuring EAS (Epic Account Services)

This step is optional but required if you want to use Epic Account Authentication.

  • Click on “Epic Account Servces
  • Click on “CONFIGURE” to configure your Application

Nativate to the “CLIENTS” tab and select your EOS client that you just created in the previous step and click on “SAVE

Your client is now ready to be used in your Project!